Showing posts with label christmas. Show all posts

Sunday, January 6, 2013

Christmas Stockings

Last year, a few weeks before Christmas I decided I wanted to make stockings for our little family of three. So I went to the local quilt shop and bought some fabric to make them. Then I realized I needed a lining for the inside and I wanted to use muslin because it's cheaper and no one is really going to be looking at the inside anyway. Well, I guess that was my big downfall because I never got the muslin before Christmas, so they didn't get done last year.

This last summer I had bought muslin for another project so I pulled out the stockings again. And they sat on my ironing board for months. Again.

Finally right after Thanksgiving I started to finish Little Bub's stocking. I figured his was the most important anyway and if I didn't finish the other ones, oh well.

I have a great quilting book by Eleanor Burns called Christmas at Bear Paw Ranch that had a great stocking pattern in it. She makes crazy striped stocking, but I wanted mine to be solid with an applique, but here is a link to the pattern for free online (look for strip stocking). I just used her steps and the outline shape of the stocking. Warning: They are pretty big stockings!

For Little Bub's stocking I made a gingerbread man applique. I actually drew the gingerbread man!  For Daddy's stocking, I drew an elf (at his request) based on the elves from the Rudolph movie. For myself, I used cookie cutters and traced snowflakes onto paper. I used Heat 'N Bond, buttons and embroidery floss for all of the stockings.

 
And in case you're wondering, like most everyone else, I do have some fabric for stockings for any future children. No misfits in this house!

Saturday, December 15, 2012

Christmas Crafting Countdown

It's been awhile. It's continued to be pretty crazy around our house lately. Even though my husband came home last Monday, we're still trying to get back into a normal routine, but I really don't think that will happen until January.

Just this last week we've had 4 family birthdays and a Christmas party to celebrate. This means Little Bub is all out of whack and I haven't been able to get as much done as I'd like.

Have I also mentioned that Little Bub is now only taking one nap a day? Yikes. All of sudden I have to try to entertain him for a few more hours in a day, just around the time of year I need a few extra hours a day to finish all my crafty Christmas presents. I know I won't finish all I have planned, but here are a few things I've been able to complete.

Lissa May Photography did Little Bub's birthday photos and I absolutely just love them. She is just starting out in her own photography business and she lives just one street up from me, so we've decided to trade crochet hats as props for little mini-sessions of Little Bub at the holidays. Sweet deal for me I think! These monster hats were her first order. She found the pattern and bought it, so I got a free pattern out of it too!

 
I have also finished Little Bub's Christmas stocking. I have a few pictures to share, but I'm hoping to do that at a later date when I finish mine and my husband's.
 
 
But it's hard to get much of anything done when you have this face trying to get your attention.


Saturday, December 1, 2012

Oh, Christmas Tree

Today we decorated our tree. Finally. I think it's been in the stand for a week now. However, we were totally unprepared for a real tree, which is the reason it sat bare so long. We didn't have enough of one color of lights to cover this tree!

This morning we stopped by Wal-Mart after Little Bub's swim lessons and picked up a strand of 200 red lights, after we hemmed and hawed over the ridiculous prices of the LED boxes of 25 lights (I just can't believe they were $7 a piece! We would have had to buy at least 5 boxes!).

After we finished wrapping the tree we looked at each other and knew it wasn't enough. I was content to leave it a little bare, but my husband decided that we needed to add the LED white and blue snowflake lights that I originally wanted to use (and which we didn't have enough of, nor can I find them in any store).

 
If you know me well, you know I have a touch of OCD about things matching and these two colors definitely do not go together, but I have to tell myself it doesn't matter. Not very many people are going to see my tree this year and Little Bub does not care one bit.

 
My husband's family has this tradition of taking pictures of the children hanging an ornament on the tree. Maybe we'll continue that tradition. Little Bub was more interested in pulling the ornaments off the tree though.
 
 
I gave him some unbreakable ornaments to play with and to leave under the tree for when he wants to touch things. Overall, I guess the effect of the different lights isn't all bad.
 

Monday, November 26, 2012

My Long Thanksgiving Weekend

Working in a school has its perks, I must admit. One of those is having a five day weekend to spend crafting and loving up Little Bub.

On Wednesday, I decided to take advantage of the unusually mild, sunny weather and take Little Bub to the park.


We brought our dog too. Poor Frankie. He's generally a good sport as long as Little Bub isn't reaching for a handful of fur.


On Thursday, we spent time with both sides of our family. My sister-in-law kindly agreed to snap a few shots for our Christmas cards. She has amazing talent!

 
On Friday, we went to go pick our Christmas tree. The past few years we used a fake one, but with Little Bub around we wanted to start the tradition of having a real one. It was a little colder outside, but still a nice enough day to walk around the tree farm.


The rest of the weekend was pretty normal. I worked on some crafts while Little Bub helped, Little Bub had swimming lessons and we took some much needed naps. I was sad to see the weekend come to an end.

Wednesday, November 21, 2012

Gingerbread Man Hat

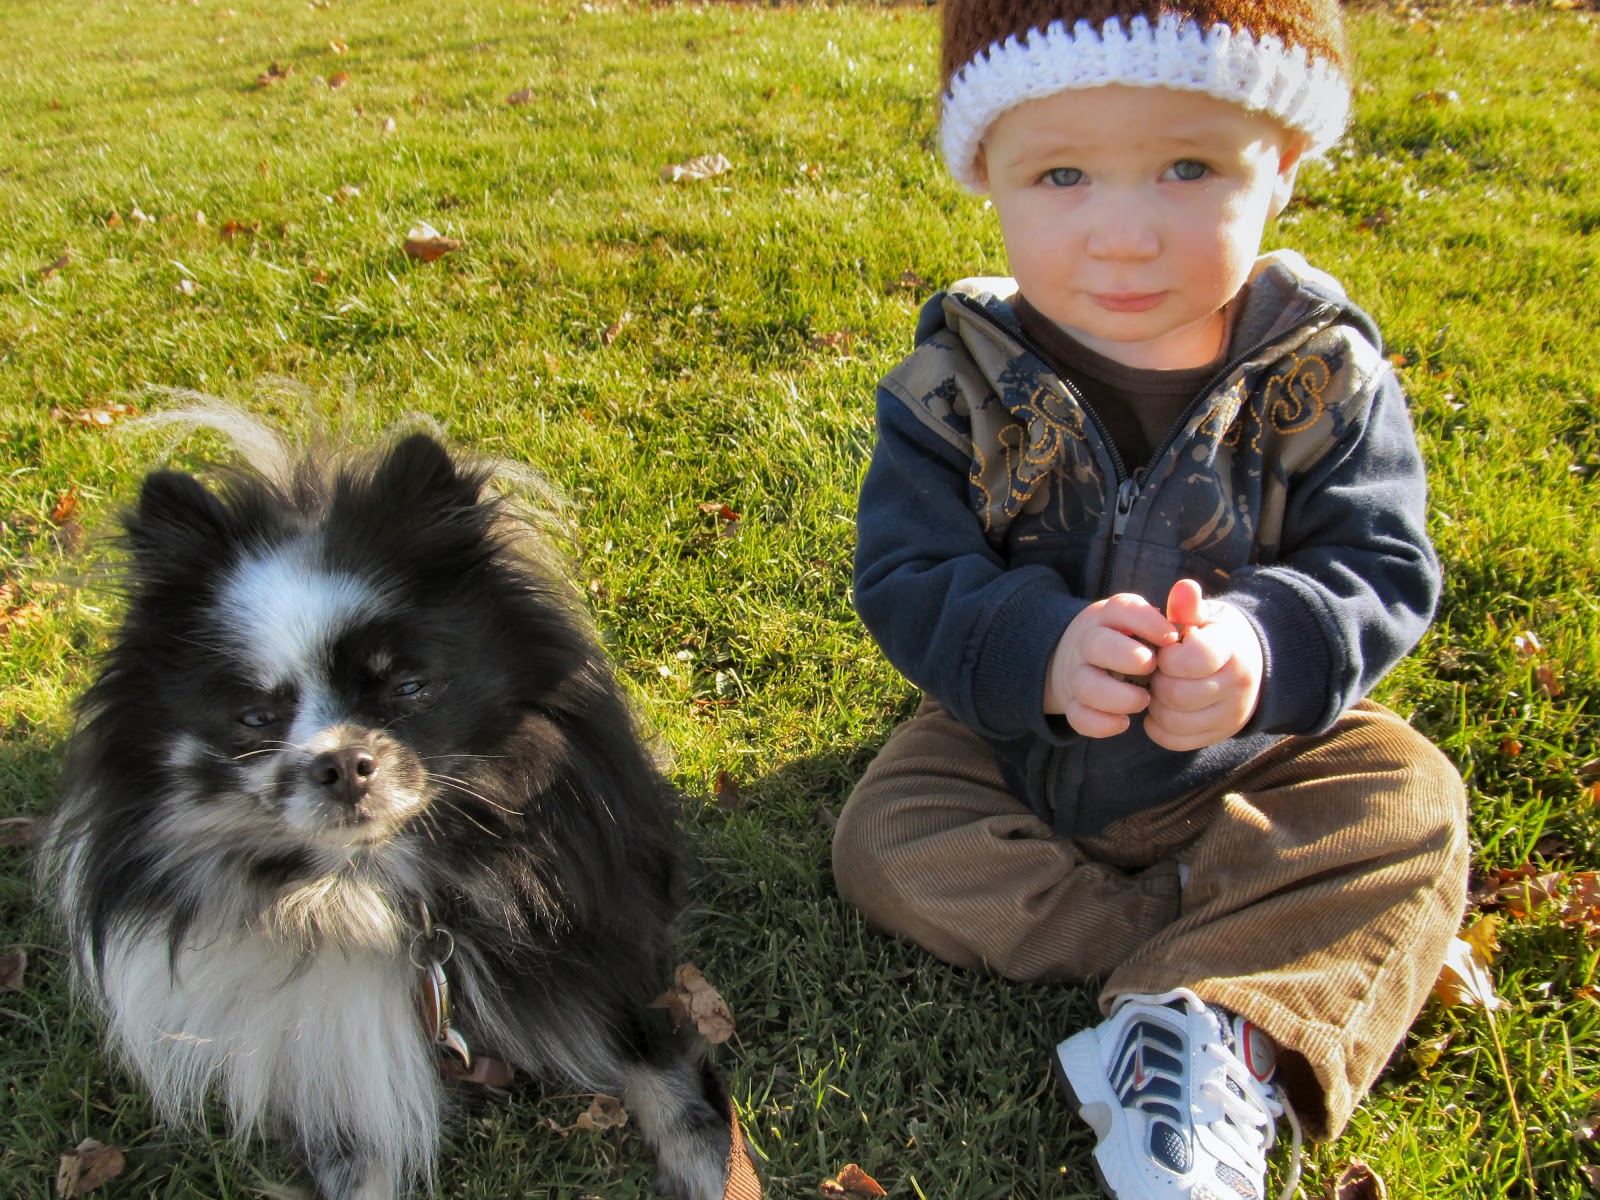
Finally it was a nice enough day to get some pictures of the gingerbread man hat. And Little Bub was content to have his picture taken in it. Most times, he just rips the hats off as soon as I put them on!

I was inspired by this hat on Etsy. It looked easy enough and it was a very fast hat to make.

 
Gingerbread Man Hat
 
 Supplies Needed:
-Worsted Weight Yarn
-Size J Crochet Hook
 
Hat Instructions (1-3 Years Size):
 
With brown, ch 3, slst in first ch to form loop.
Round 1: Ch 2 (counts as hdc), 9 more hdc in loop. Join with slst to first hdc. (10 hdc)
Round 2: Ch 2, hdc in same stitch. 2 hdc in next stitch and each stitch around. Join with slst to first hdc. (20 hdc)
Round 3: Ch 2, hdc in same stitch and in next stitch. *2 hdc in next stitch, hdc in next stitch. Repeat from * around. Join with slst to first hdc. (30 hdc)
Round 4: Ch 2, hdc in same stitch and in next 2 stitches, *2 hdc in next stitch, hdc in next 2 stitches. Repeat from * around. Join with slst to first hdc. (40 hdc)
Round 5: Ch 2, hdc in same stitch and in next 3 stitches, *2 hdc in next stitch, hdc in next 3 stitches. Repeat from * around. Join with slst to first hdc. (50 hdc)
Round 6: Ch 2, hdc in same stitch and in next 4 stitches, *2 hdc in next stitch, hdc in next 4 stitches. Repeat from * around. Join with slst to first hdc. (60 hdc)
Rounds 7-14: With brown, ch 2, hdc in next stitch and each stitch around. Join with slst to first hdc. (60 hdc) Do not finish off.
 
First Ear Flap
Row 1: Ch 2, hdc in next 15 sts. (16 hdc)
Row 2: Ch 2, hdc in next stitch, skip next stitch, hdc in next 10 hdc, skip next hdc, hdc in last 2 hdc. (14 hdc)
Row 3: Ch 2, hdc in next stitch, skip next stitch, hdc in next 8 hdc, skip next hdc, hdc in last 2 hdc. (12 hdc)
Row 4: Ch 2, hdc in next stitch, skip next stitch, hdc in next 6 hdc, skip next hdc, hdc in last 2 hdc. (10 hdc)
Row 5: Ch 2, hdc in next stitch, skip next stitch, hdc in next 4 hdc, skip next hdc, hdc in last 2 hdc. (8 hdc)
Row 6: Ch 2, hdc in next stitch, skip next stitch, hdc in next 2 hdc, skip next hdc, hdc in last 2 hdc. (6 hdc)
Row 7: Ch 2, skip next stitch, hdc in next next 2 hdc, skip next stitch, hdc in last hdc. (4 hdc)
Row 8: Ch 2, skip next 2 hdc, hdc in lath dc. (2 hdc) Finish off.
 
Second Ear Flap
Row 1: Skip 14 hdc on round 14 from edge of first ear flap, join with slst in next hdc, ch 2, hdc in next 15 sts. (16 hdc)
Row 2: Ch 2, hdc in next stitch, skip next stitch, hdc in next 10 hdc, skip next hdc, hdc in last 2 hdc. (14 hdc)
Row 3: Ch 2, hdc in next stitch, skip next stitch, hdc in next 8 hdc, skip next hdc, hdc in last 2 hdc. (12 hdc)
Row 4: Ch 2, hdc in next stitch, skip next stitch, hdc in next 6 hdc, skip next hdc, hdc in last 2 hdc. (10 hdc)
Row 5: Ch 2, hdc in next stitch, skip next stitch, hdc in next 4 hdc, skip next hdc, hdc in last 2 hdc. (8 hdc)
Row 6: Ch 2, hdc in next stitch, skip next stitch, hdc in next 2 hdc, skip next hdc, hdc in last 2 hdc. (6 hdc)
Row 7: Ch 2, skip next stitch, hdc in next next 2 hdc, skip next stitch, hdc in last hdc. (4 hdc)
Row 8: Ch 2, skip next 2 hdc, hdc in lath dc. (2 hdc) Finish off.
Edging: With red and white together, slst in back of hat near the seam. Ch 1, sc in next stitch and each stitch around. Finish off.
To make braids: Cut 3 white and 6 red pieces of yarn, 36 inches long. Pull halfway through the bottom center of each ear flap. Separate into 3 equal groups and braid to desired length. Tie a knot in the bottom and trim the ends.
Make 2 cheeks: With red, ch 3, slst in first chain to form a loop. Ch 2, hdc 5 times in loop, slst to join (6) Finish off.
Mouth: With white, sew a couple of stitches across to make the mouth.
Eyes: Sew two large black buttons onto hat.
Optional: For girls, you could crochet a little bow or even just make one out of ribbon and sew that to the top of the hat. I've even seen ones that have little black eyelashes! Check out the girl version on Etsy!